This blog post was written by Atanu, a Software Development And Entrepreneurship student at Estonian Entrepreneurship University of Applied Sciences.
Estonia had carved out a reputation as a pioneer in digital innovation and technology-driven public services. So much so that Estonia has been a role model for many countries to study and take lessons.
Among its groundbreaking initiatives, Estonia has achieved something quite remarkable: the provision free public transportation to its residents of Tallinn (the capital) and of course us, the international students.
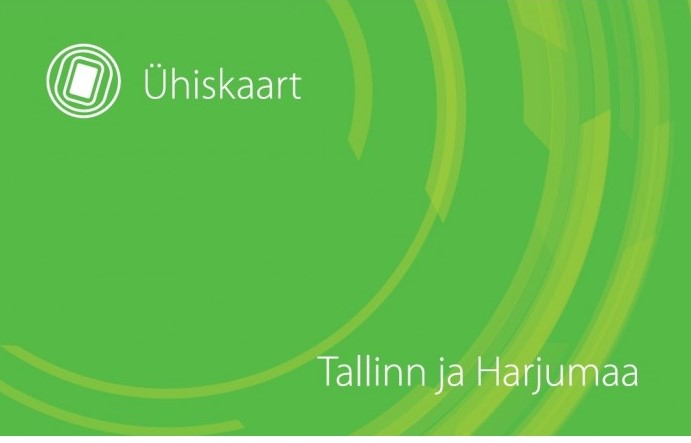
This service, which is the first among European nations, has been made possible through the use of personalized Public Transport Cards, also known as the Ühiskaart or "green card."
In this comprehensive guide, I will take you through a detailed, step-by-step process of personalizing your Ühiskaart to enjoy free travel in Tallinn. I will also describe the process of personalizing your ISIC card.
Prerequisites:
To qualify for free public transportation in Tallinn, you'll need the following:
- Temporary Residence Permit (TRP): As a foreigner residing in Estonia for a longer period, you must possess a valid TRP.
- Personal Code or ISIKUKOOD: This is a unique identification number assigned to every Estonian resident. It serves as a vital identifier in many legal, financial, and public transport matters.
- Population Registration: To be eligible for free public transport services, you must be registered as a resident in Tallinn in Estonia.
- Ühiskaart: The Ühiskaart is the Estonian Public Transport Card that needs to be personalized for free travel.
Once you have all the prerequisites in place, you're ready to start the process of personalizing your Ühiskaart.
The First Step: Obtaining Your Ühiskaart
The journey to free, unlimited travel in Tallinn begins with getting your hands on a Ühiskaart. The card is readily available at numerous locations throughout Tallinn. These include post offices, R-Kiosks, and dedicated public transportation customer service points. If you prefer to sidestep the queues, you can also purchase the card online on the official Pilet.ee website.
But the most common way to buy is through R-Kiosks. It currently costs only 2 euros.
Personal Touch: Registering and Personalizing Your Ühiskaart
With your Ühiskaart securely in your possession, the next step is to register and personalize it.
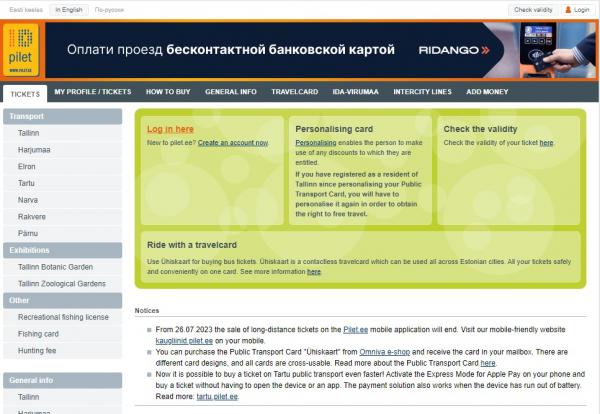
This process is straightforward. Visit the Pilet.ee website. The website should look something like this.
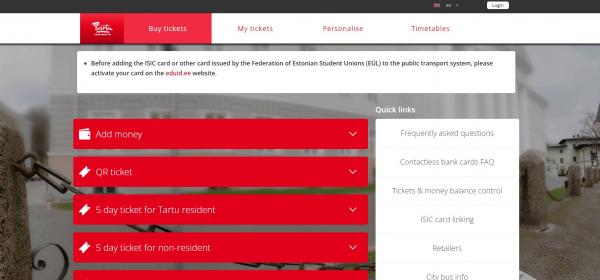
After that click on the city that you are living in from the "Transport" subsection. This will redirect you to the city specific pages. It should look something like this. In this case I have clicked for Tartu city.
If you wish to directly go to this page, here are the links:
For Tallinn: https://tallinn.pilet.ee/personalise
For Tartu: https://tartu.pilet.ee/personalise
For Pärnu: https://parnu.pilet.ee/personalise
Adding a Personal Touch: Registering and Personalizing Your Ühiskaart
Fill the details of the form with the required information. Begin by entering the number displayed on the back of your Ühiskaart. Next, enter your personal code or isikukood. Finally, you'll need to input your Temporary Residence Permit (TRP) card number. This code is 9 characters long, beginning with two letters followed by seven numbers. For example, it might look something like this: YZ1234567.
After you've filled in all the necessary fields, you'll encounter the terms and conditions. Now, here comes the fun part! If you're anything like me – a self-confessed nerd who loves the finer details – this is where the excitement kicks in. Terms and conditions are like the plot of a mystery novel: you'll delve into the intricacies of service usage, stumble upon rights and responsibilities you never knew you had, and maybe even unravel the secrets of the public transportation system!
Okay, maybe it's not quite as thrilling as a mystery novel, but reading the terms and conditions can provide a sense of comfort and understanding as you embark on your free travel adventure.
Once you've decoded the intricacies of the terms and conditions (or simply checked the box like most of us do), hit the 'submit' button. You will see a pop-up saying, "Card successfully personalized".
Voila! You've successfully completed the steps of personalizing your Ühiskaart.
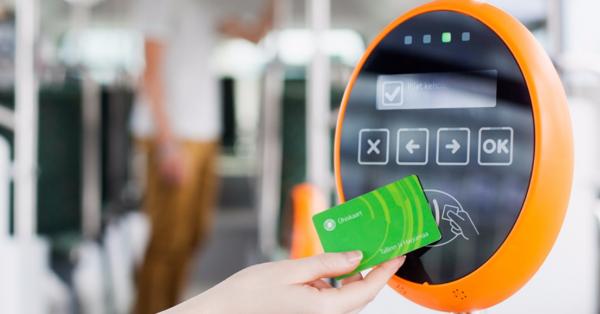
Validating Your Ühiskaart
It takes about 24-36 hours for the card to be personalized. So, wait a bit before you try it. You will not receive any email or SMS confirming it. But after that time, if you touch your card to a reader and it shows 4 green dots, that means the card has been registered successfully.
But if it shows 4 red colour dots, that means it has not yet been personalized.
How to register your ISIC Card?
The process of registering an ISIC card is also very simple. If you don't know what ISIC card is and how does it work, Pooja, one of our amazing student ambassadors wrote a blog about it, check it out here.
At first, you need to activate your ISIC card at https://eduid.ee/
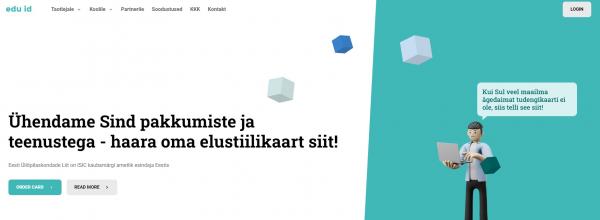
After that click on "Login In" on the right-side corner of the screen. You will be prompted to login. You don't need to sign up to login. You can just log in with your Smart-ID or Mobile-ID.
Once you log in, you will find your ISIC card and simply click "activate".
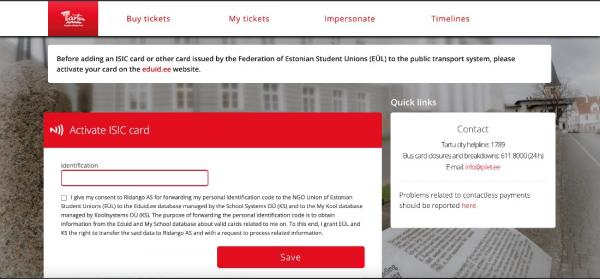
After that log out and go to the city specific pilet.ee website and click on "ISIC card linking" on the right side.
You will be redirected to a page like this
If you wish to directly go to this page, here are the links:
For Tallinn: https://tallinn.pilet.ee/tickets/isic
For Tartu: https://tartu.pilet.ee/tickets/isic
For Pärnu: https://parnu.pilet.ee/tickets/isic
After typing in your personal code number, don't forget to check that small box - consider it your digital nod of approval. Then, with a click on the 'Save' button, you'll have successfully personalized your ISIC card. Job well done!
Give it 24-36 hours like before and you are ready for free transportation in your city!
Things to keep in mind
There are two points that you should keep in mind.
- You can only begin personalizing your card once you have registered yourself as a resident of a city. This is known as population registry. For that you need your housing contract. If you haven't done so, do that first here. After submitting your application, in my experience it takes about 1-2 days to register. You will be notified by email. Only then start your personalization.
- The benefit of free public transportation is tied to your city of residence. For example, being a resident of Tartu won't grant you free rides in Tallinn. It's a local perk, so it only applies in the city where you're registered as a resident.
Conclusion
Estonia's innovative approach to public transportation for residents of the capital represents a unique blend of technological sophistication and user-friendly services. Whether you're a resident benefiting from free travel or a visitor navigating the cities with your Ühiskaart, the Estonian public transportation system promises an enjoyable and seamless commuting experience. Just remember to validate your card every time you board a vehicle. Happy and responsible commuting!
Read more blog posts: